Living Table of Contents
Today’s Agenda:
- CustomSettings.ini Overview
Recommended Reading
CustomSettings.ini
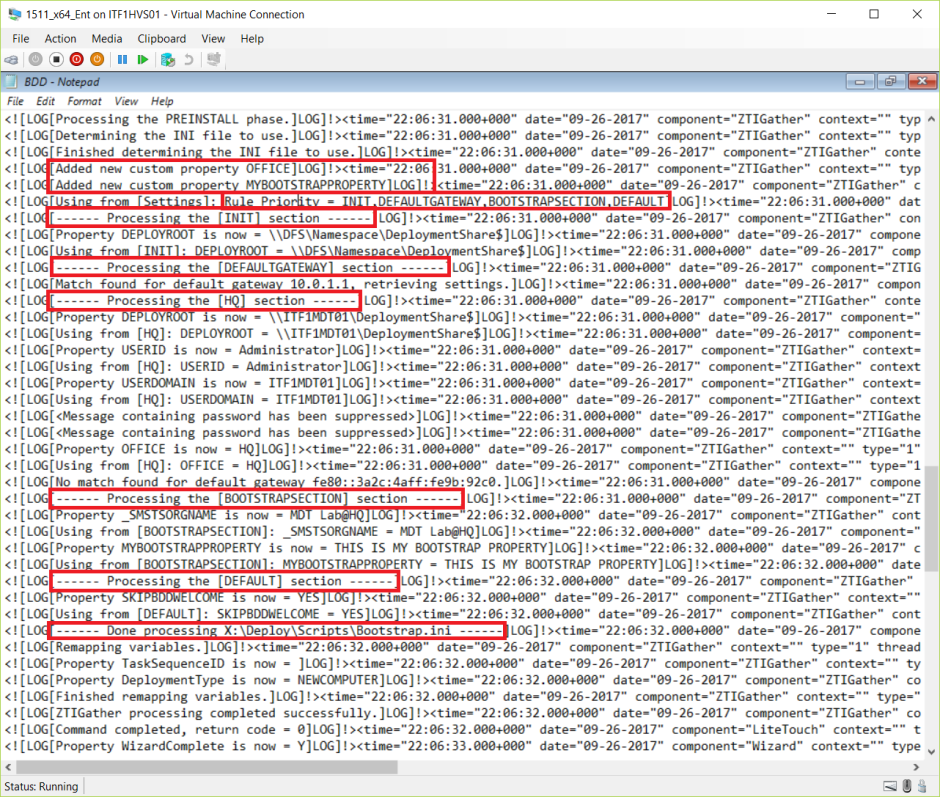
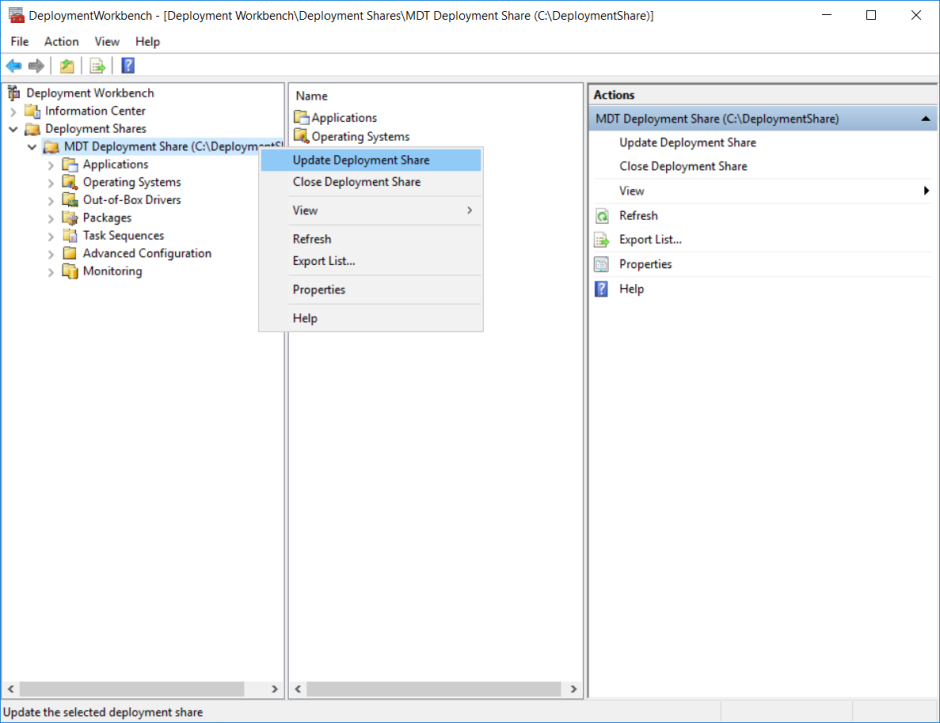
The CustomSettings.ini is a rules file processed by ZTIGather.wsf after the Bootstrap.ini is processed (more on that in my next post) as well as periodically during the Task Sequence. The CustomSettings.ini contains instructions to perform specific actions and set various parameters in MDT. You can great very creative when it comes to customizing the CustomSettings.ini, but that’s beyond the scope of this post. Today I just want to focus on explaining what’s currently in your CustomSettings.ini to whet your appetite for getting this setup in your environment.
The CustomSettings.ini can be accessed two ways:
- In the ‘Rules’ tab of the Deployment Share properties
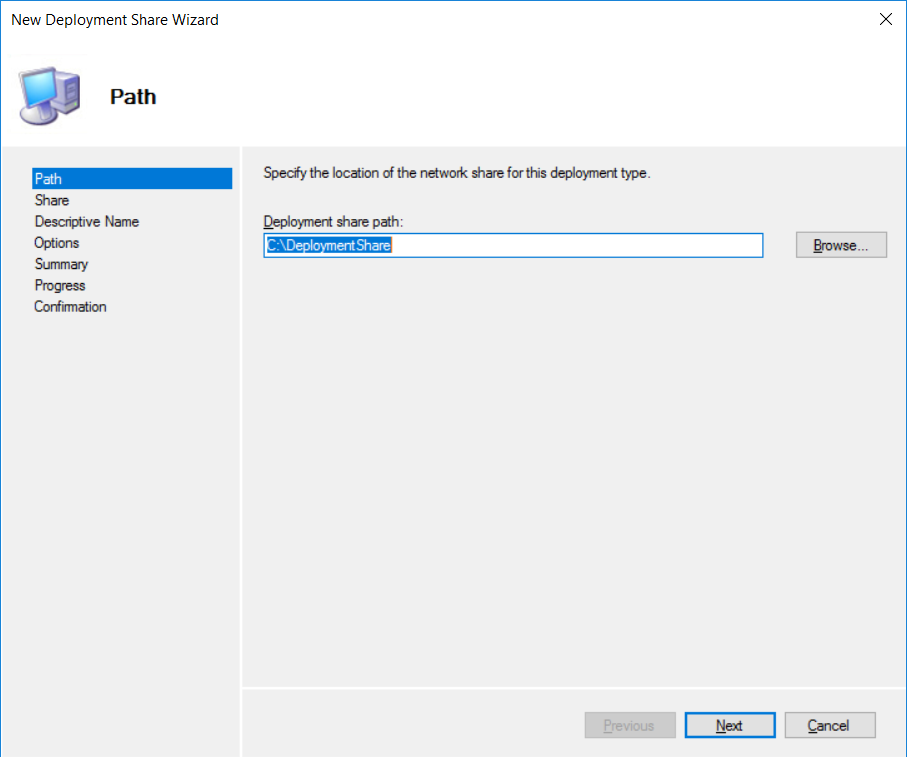
- The CustomSettings.ini file in the Control subdirectory of your Deployment Share, for example:
- C:\DeploymentShare\Control
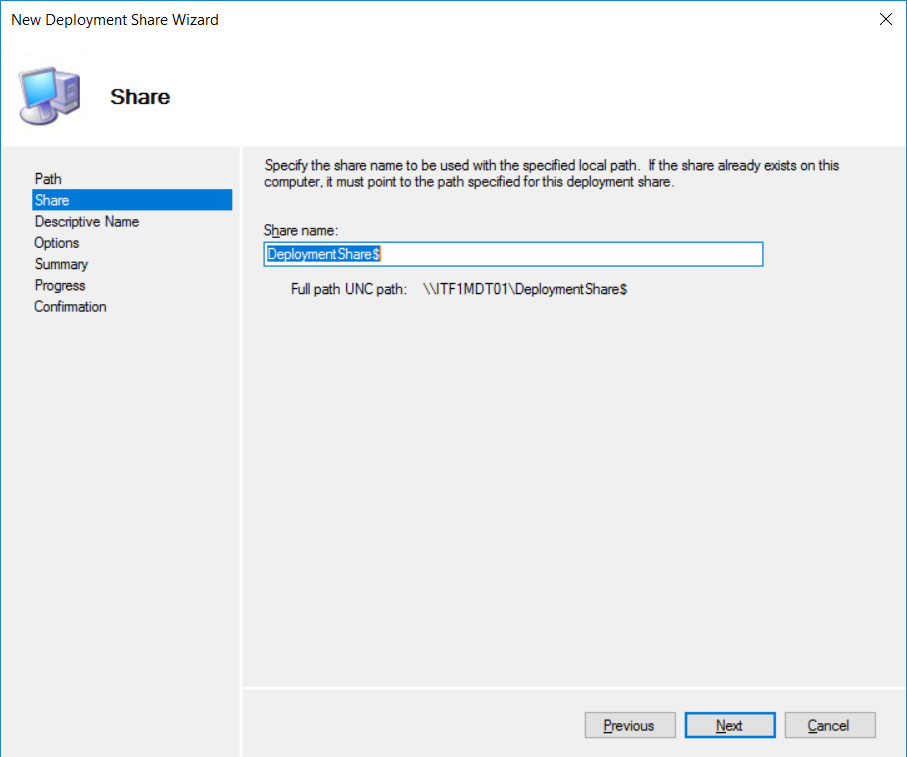
- \\MDTServer\DeploymentShare$\Control
At the moment your current CustomSettings.ini it pretty bare bones
[Settings]
Priority=Default
Properties=MyCustomProperty
[Default]
OSInstall=Y
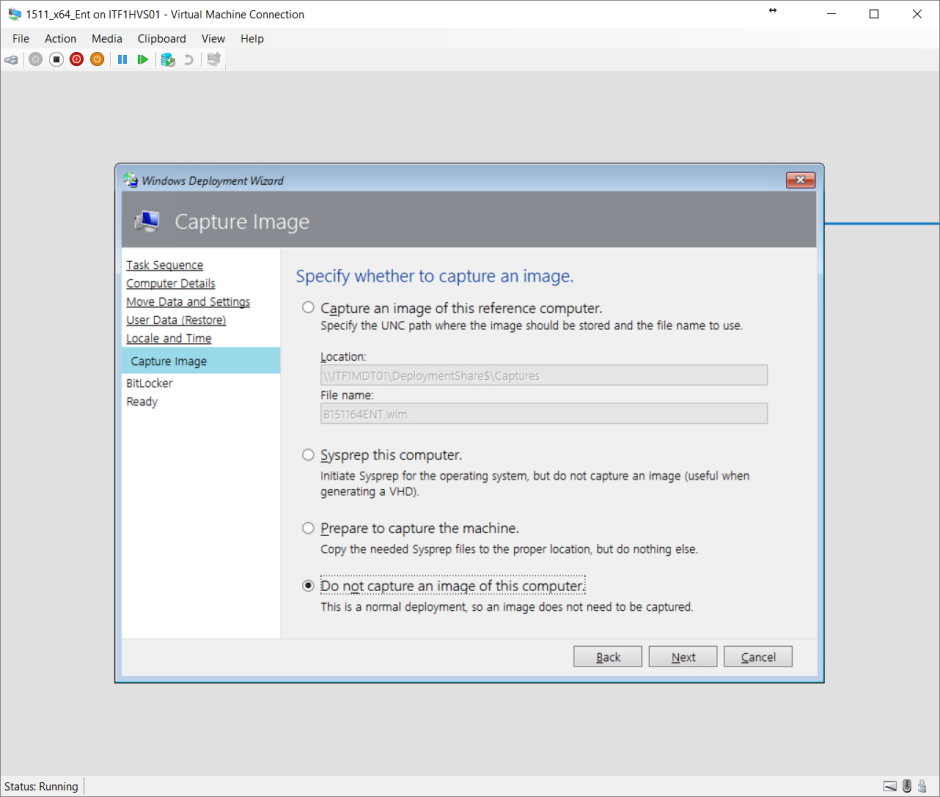
SkipCapture=NO
SkipAdminPassword=YES
SkipProductKey=YES
SkipComputerBackup=NO
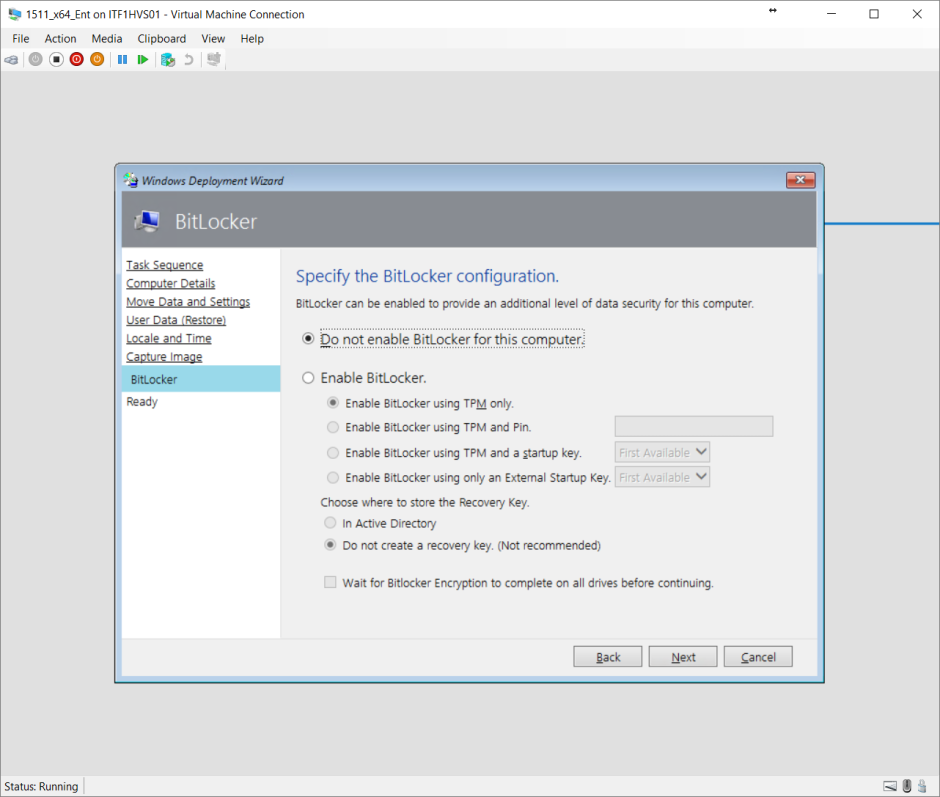
SkipBitLocker=NO
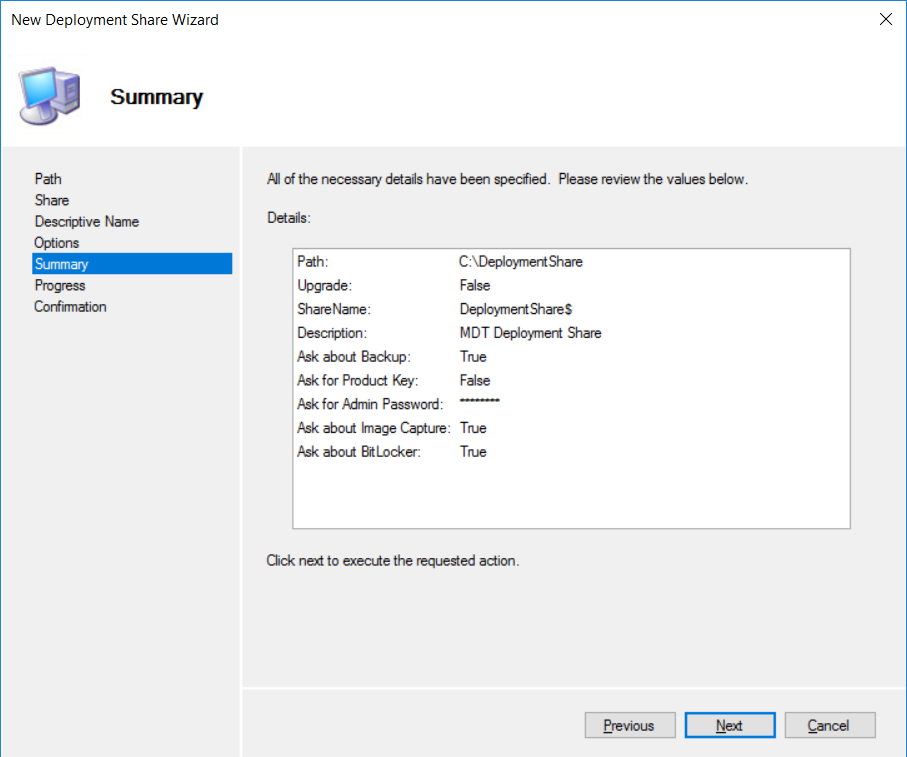
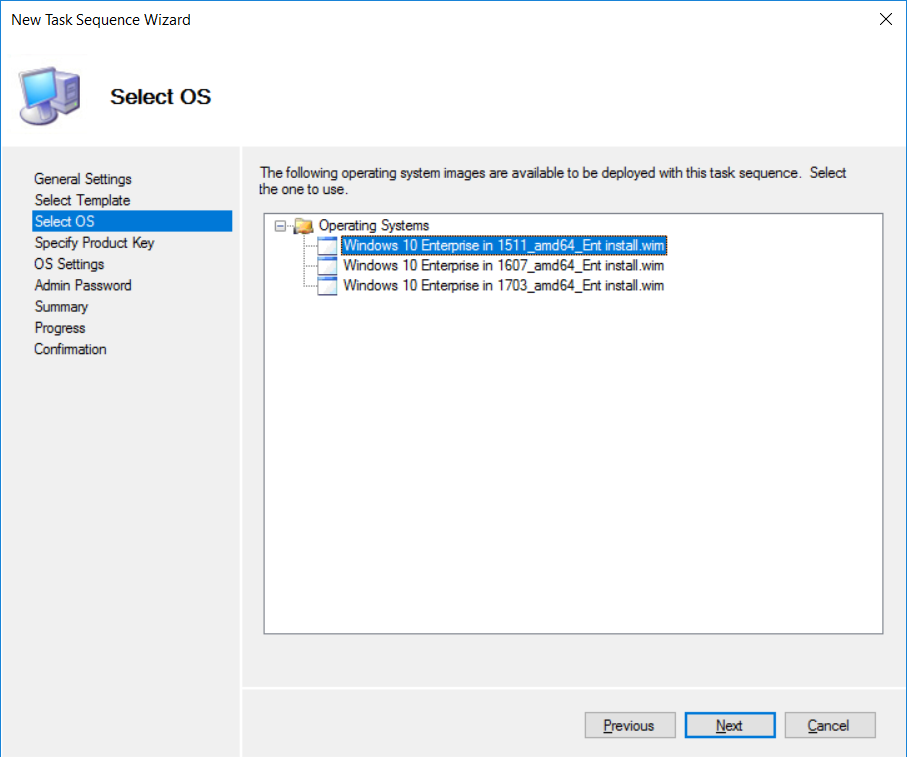
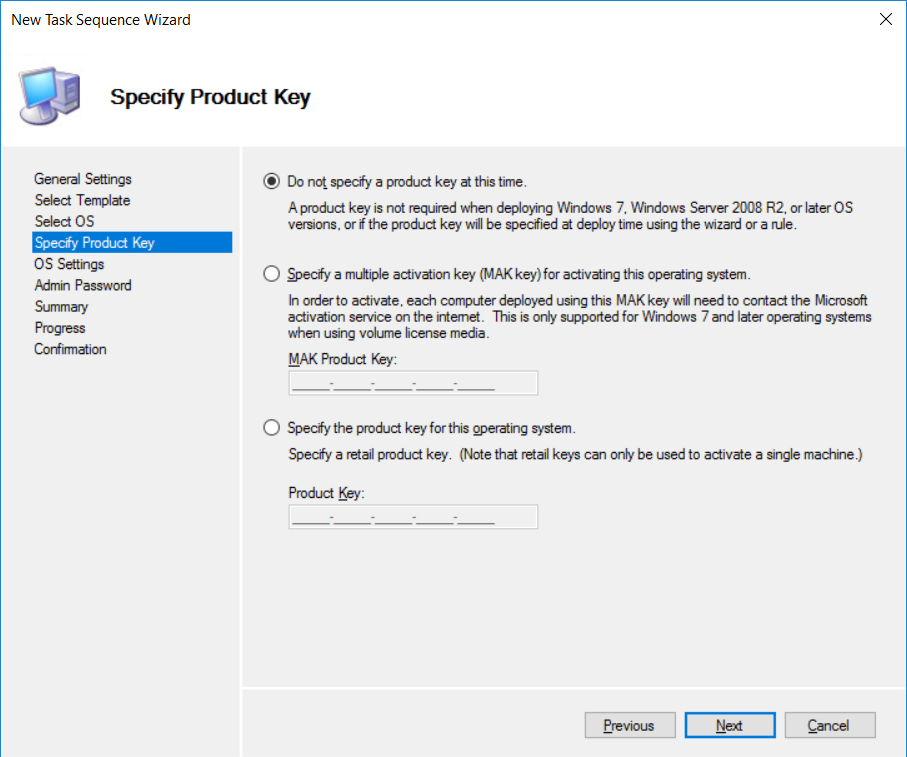
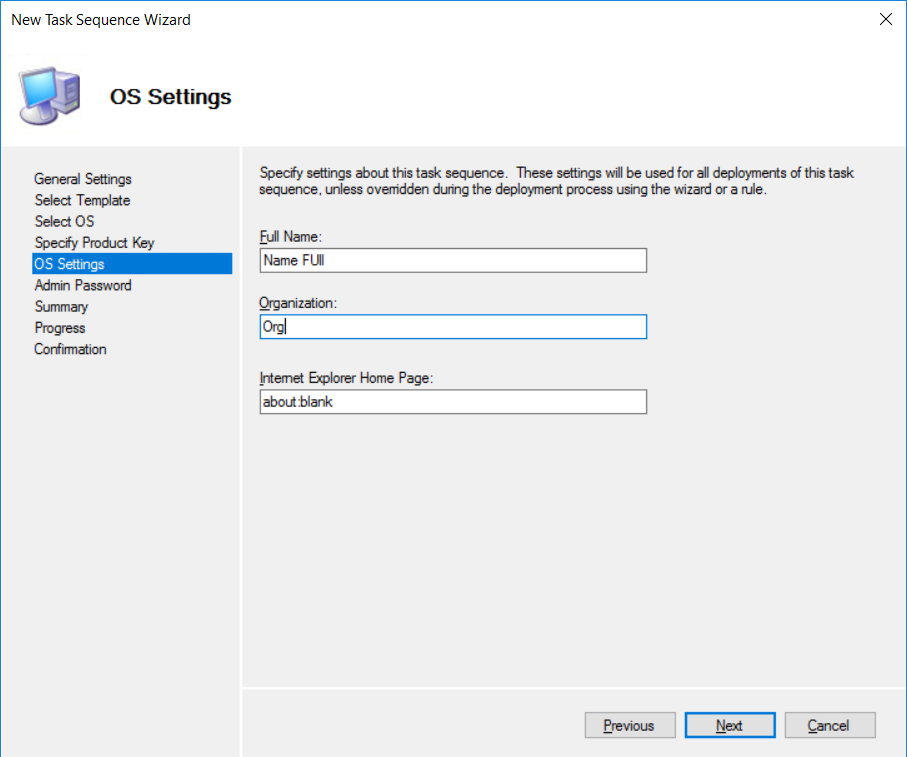
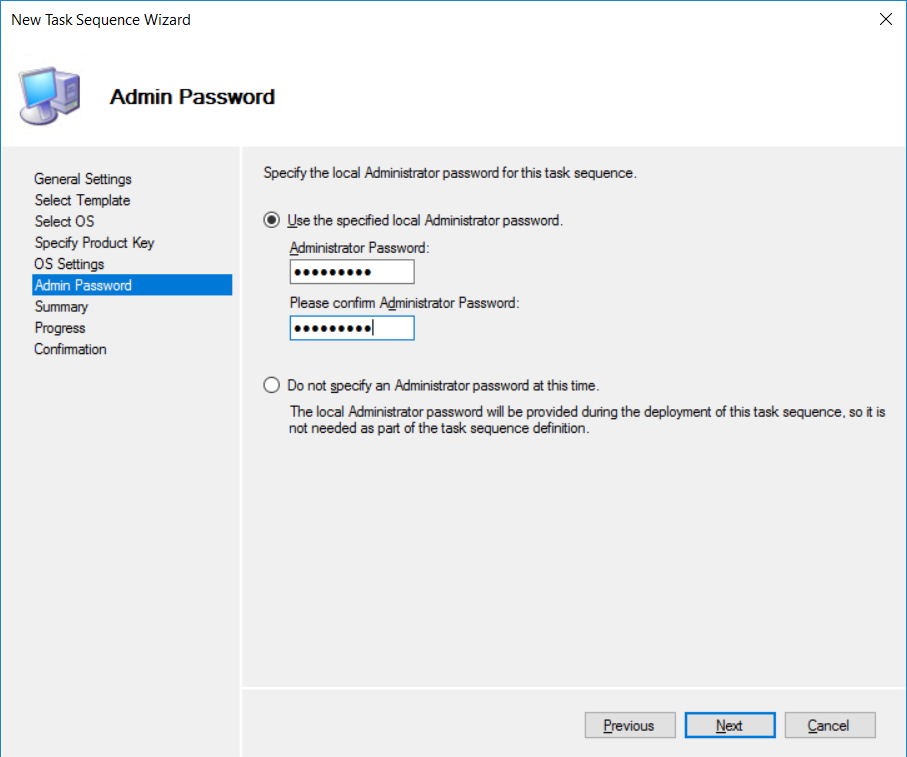
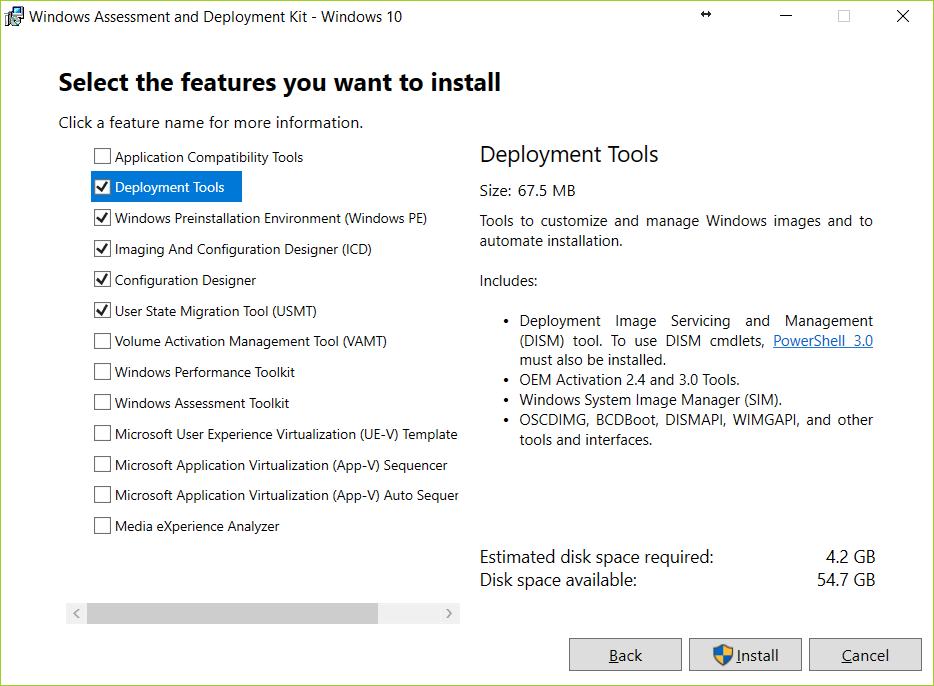
I want to start by pointing out that everything in the [Default] section is set to ‘NO’ except for ‘SkipAdminPassword’ and ‘SkipProductKey’. If you recall when we created the first Deployment Share, we saw the screen below:
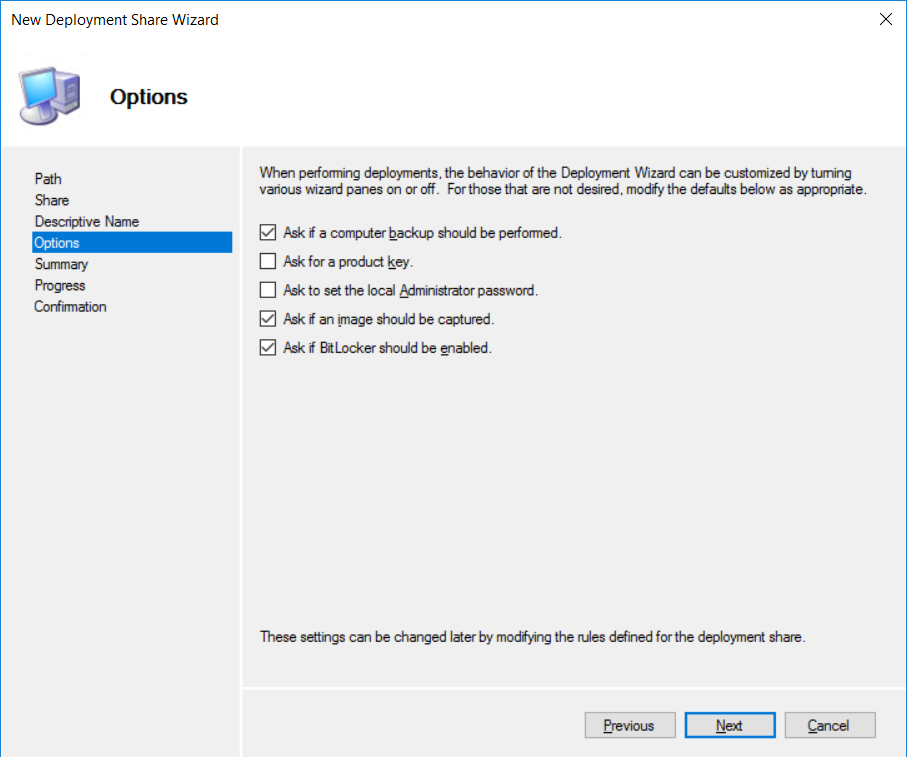
Everything was checked except for ‘Ask for a product key’ and ‘Ask to set the local Administrator password’ which if you can guess corresponds to what we’re seeing in the CustomSettings.ini.
The OSInstall property is provided out of the box and I suppose it’s meant to tip the MDT Admin that you can set it to N if need be. It’s important to note that this property is not required, and if it’s missing an OS installation will proceed by default. So don’t go thinking that by deleting that you’re going to prevent OS’ from installing.
Another baked in property is MyCustomProperty which has no references anywhere. This is really just to let the MDT Admin know that this is where they can declare properties (like declaring variables) for use in the CustomSetitngs.ini and thus the MDT environment. We’ll get into that more a little later but just know that you can delete ‘MyCustomProperty’ – and in fact that whole line – and things would work fine.
At the moment there are two Sections – the square bracket surrounded text – in your CustomSettings.ini:
- Settings
- Default
And the rest are properties, or variables, that we’ll explore further.
The [Settings] Section
The settings section holds just two properties
Priority
The Priority property is a reserved property used for determining the order in which sections within the CustomSettings.ini will process items. I like to think of Priority as a listing of declared Functions I want to call in a specific order when the CustomSettings.ini is processed, and each of these functions do something. Let’s go over some basic real-world examples to help explain.
Say your CustomSettings.ini looked like this:
[Settings]
Priority=MACAddress,Default

[00:11:22:33:44:55]
SkipAdminPassword=NO

[00:11:22:33:44:56]
OSInstall=Y

[TestGroup]
SkipCapture=YES

[Default]
OSInstall=Y
SkipCapture=NO
SkipAdminPassword=YES
SkipProductKey=YES
SkipComputerBackup=NO
SkipBitLocker=NO
When the CustomSettings.ini is processed it will read the Priority line to determine the order in which the sections need to be processed.
- MACAddress
- Default
The MACAddress directive is a special one that is built-into MDT that doesn’t look for a section called [MACAddress] but instead determines your machine’s MACAddress and looks for a section that matches your machine’s MAC Address, like [00:11:22:33:44:55]. If a matching section is found, it processes the properties in that section, which in this case is just SkipAdminPassword=NO. When that’s done it’ll move into the [Default] section and process everything there and then it’s done.
But wait a minute, what about that third section called [TestGroup] with it’s own set of properties? Well the [TestGroup] section would not be processed because it was not specified on the Priority line, so it’s ignored completely.
Let’s try another example: Suppose you wanted to add a section to do something special for machines using a particular default gateway IP address:
[Settings]
Priority=DefaultGateway,MACAddress,Default

[192.168.1.1]
SkipProductKey=NO
SkipAdminPassword=NO

[00:11:22:33:44:55]
OSInstall=N

[00:11:22:33:44:56]
OSInstall=Y

[TestGroup]
SkipCapture=YES

[Default]
OSInstall=Y
SkipCapture=NO
SkipAdminPassword=YES
SkipProductKey=YES
SkipComputerBackup=NO
SkipBitLocker=NO
From a processing perspective this is the order:
- DefaultGateway
- MACAddress
- Default
Like MACAddress, DefaultGateway is a special directive that looks up the default gateway IP address of the machine in question. In this scenario, any machines with a Default Gateway of 192.168.1.1 will always display the MDT screens that prompt for the product key and administrator password, which may seem a little odd considering in the [Default] section we’re suppressing them, which brings me to my next important point.
For most MDT properties, once it has been set, it becomes ‘read-only’ and won’t be changed again via processing of the CustomSettings.ini. The ‘documentation’ calls these variables ‘first value wins’ but I usually refer to them as ‘write-once’. This is very important because once an internal MDT property is set, say in Section A, it will not be altered in Section C even if it’s present with a different value.
However, there are some variables that are ‘last value wins’, meaning they can be overwritten multiple times, and I’m only aware of 9 that fit into this category:
- DeployRoot
- ResourceRoot
- DeployDrive
- ResourceDrive
- DeploymentMethod
- DeploymentType
- Phase
- DestinationDisk
- DestinationPartition
Can you override this behavior? Yes, by editing the ZTIGather.xml, but I’d advise against it unless you know what you’re doing. Plus by doing so you may not be in a supported configuration and Microsoft Support would probably ask you to undo your changes.
Properties
The Properties property is more like a variable declaration directive. In the CustomSettings.ini you can’t just create lines for various properties all willy nilly:
[Settings]
Priority=DefaultGateway,MACAddress,Default
Properties=SkipWindowsUpdates

[192.168.1.1]
SkipProductKey=NO
SkipAdminPassword=NO

[00:11:22:33:44:55]
OSInstall=N

[00:11:22:33:44:56]
OSInstall=Y

[TestGroup]
SkipCapture=YES

[Default]
OSInstall=Y
SkipCapture=NO
SkipAdminPassword=YES
SkipProductKey=YES
SkipComputerBackup=NO
SkipBitLocker=NO
SkipWindowsUpdates=YES
InstallOffice2016=YES
In the above example, I declared a new property (or variable) called SkipWindowsUpdates via the ‘Properties’ line.
In the [Default] section I added the new declared property, SkipWindowsUpdates, and set it to YES.
In the [Default] section I also added a property called InstallOffice2016 and set that to YES.
Unfortunately only the SkipWindowsUpdates property (or variable) is going to get picked up by MDT. The InstallOffice2016 property is ignored because it’s not ‘declared’ in the Properties line in the [Settings] section.
Please note that SkipWindowsUpdates is NOT a built-in MDT property; I just made it up and that is why I had to ‘declare’ it. Any custom properties you create must be declared – added to the Properties line under Settings – before you can use them.
The [Default] Section
There’s no special meaning behind the name ‘Default’ – it’s just the name of a section. It could be called Chazwazza and it would work just as well. But generally speaking the ‘Default’ section is the last section to be processed and that’s where you set all of the ‘Default’ settings not set in the sections above.
OSInstall=Y – Indicates an OS will be installed.SkipCapture=NO – Indicates the Capture screen will NOT be suppressed and thus visible.SkipAdminPassword=YES – Indicates the Password screen WILL be suppressed and thus NOT visible.SkipProductKey=YES – Indicates the Product Key screen WILL be suppressed and thus NOT visible.SkipComputerBackup=NO – Indicates the Computer Backup screen will NOT be suppressed and thus visible. Please note that this is not a screen we’ve seen yet.SkipBitLocker=NO – Indicates the BitLocker screen NOT be suppressed and thus visible.
You can completely change the ordering of the Default section or even have other sections execute after the Default section, provided you added (aka declared) it in the Priority line in the Settings section after Default.
Putting It All Together
Going back to our current stock CustomSettings.ini we’re going to alter some defaults just to show how it works and how it can streamline imaging.
[Settings]
Priority=Default
Properties=MyCustomProperty

[Default]
OSInstall=Y
SkipCapture=NO
SkipAdminPassword=YES
SkipProductKey=YES
SkipComputerBackup=NO
SkipBitLocker=YES
SkipUserData=YES
Since we’re not looking to backup and/or restore anything, and we’re not enabling BitLocker, we can skip those screens altogether by setting SkipBitLocker to ‘YES’ and adding a new property called SkipUserData and setting that to ‘YES’.
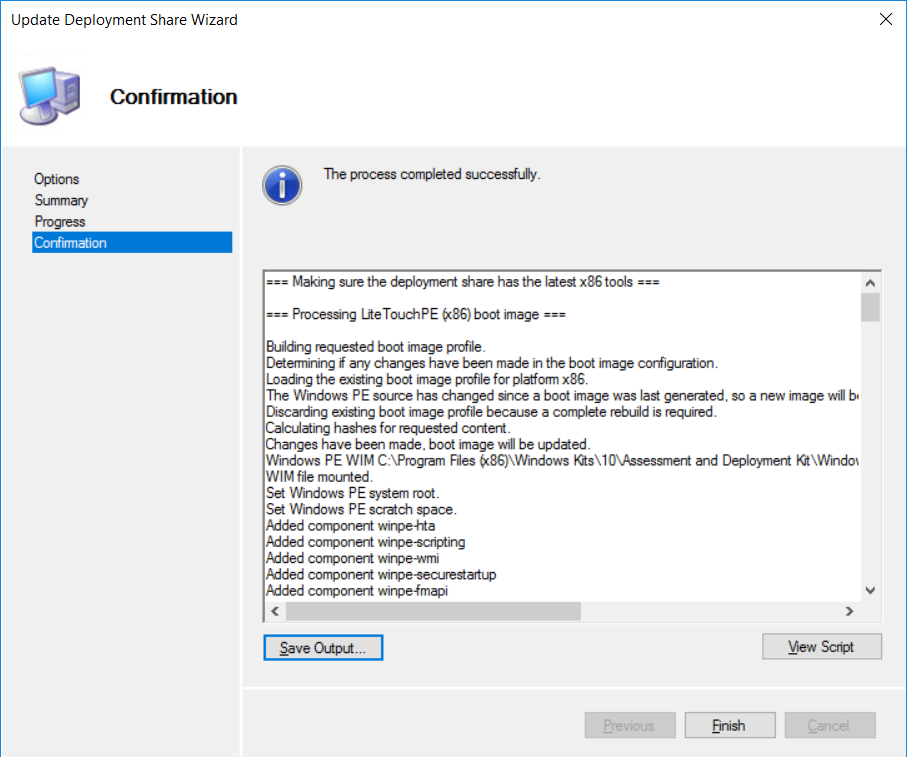
When you make changes to the CustomSettings.ini, they’re live right then and there so just boot your media and go again.
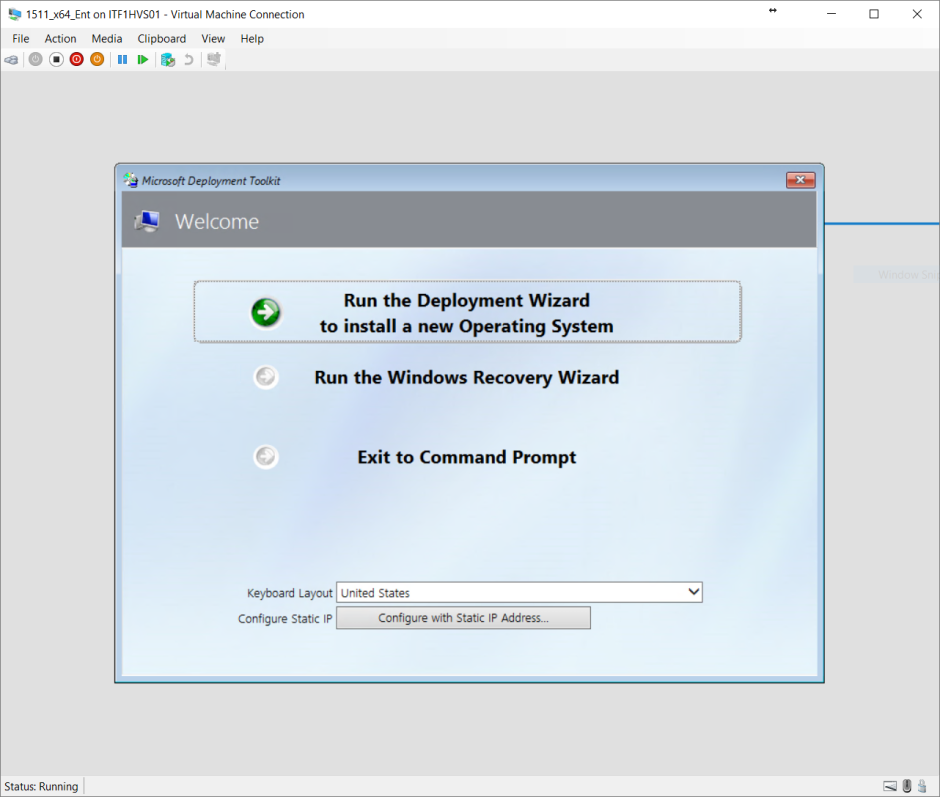
- If you’re already in WinPE at the Welcome screen, the one with the ‘Run the Deployment Wizard…‘ button, click it and it’ll process your updated CustomSettings.ini.
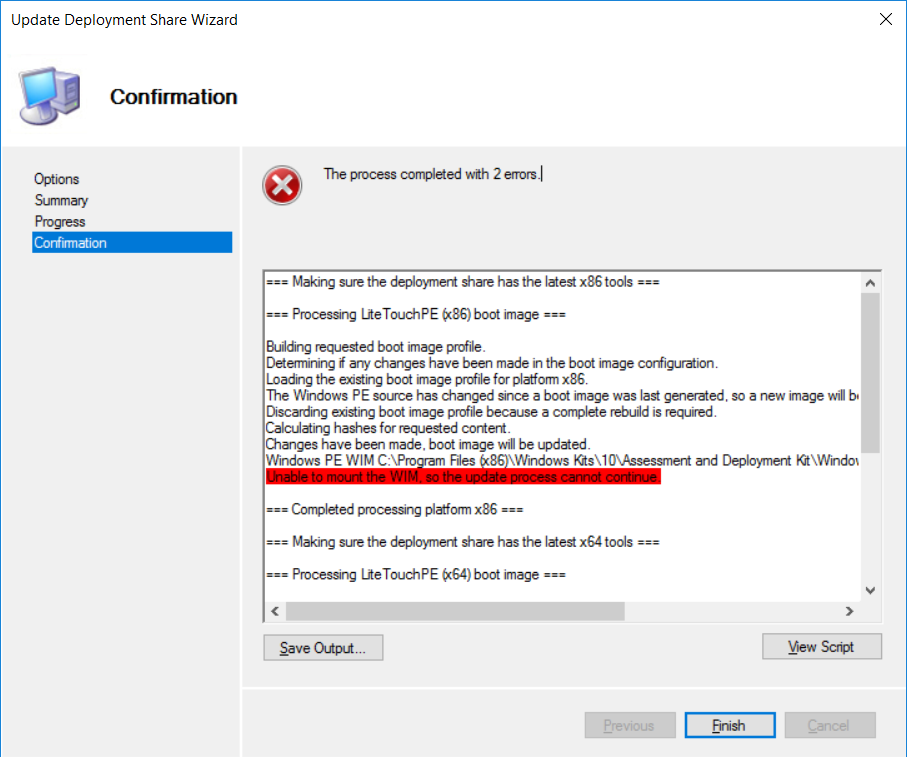
- However if you’re already at the Task Sequence screen you’ll need to reboot since the CustomSettings.ini was processed before you made you changes.
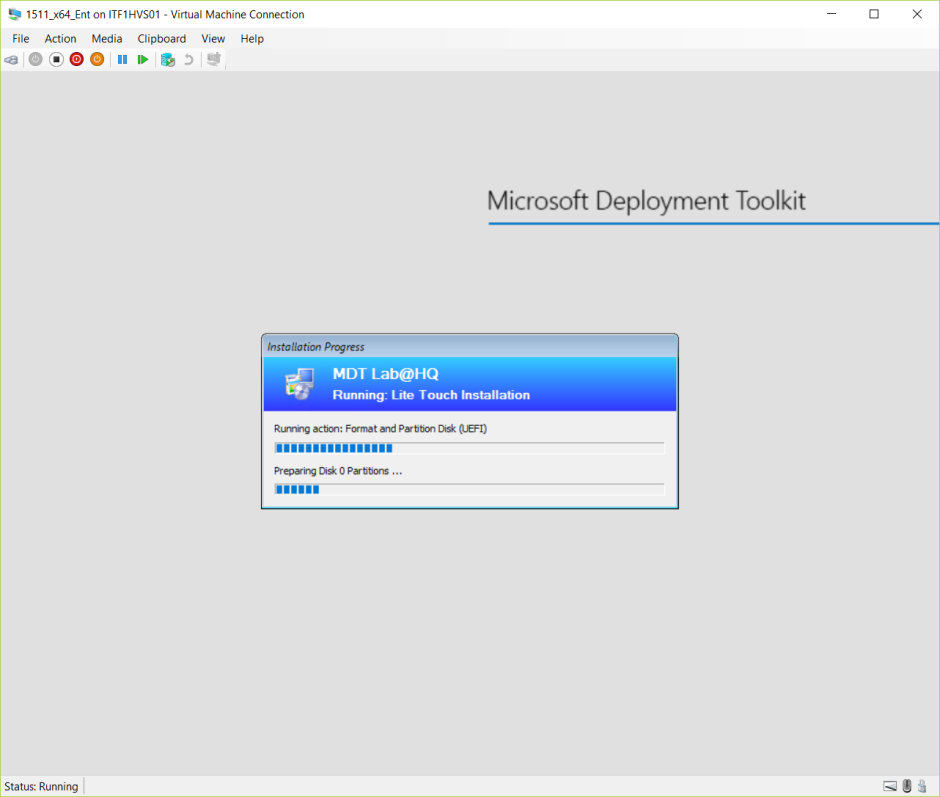
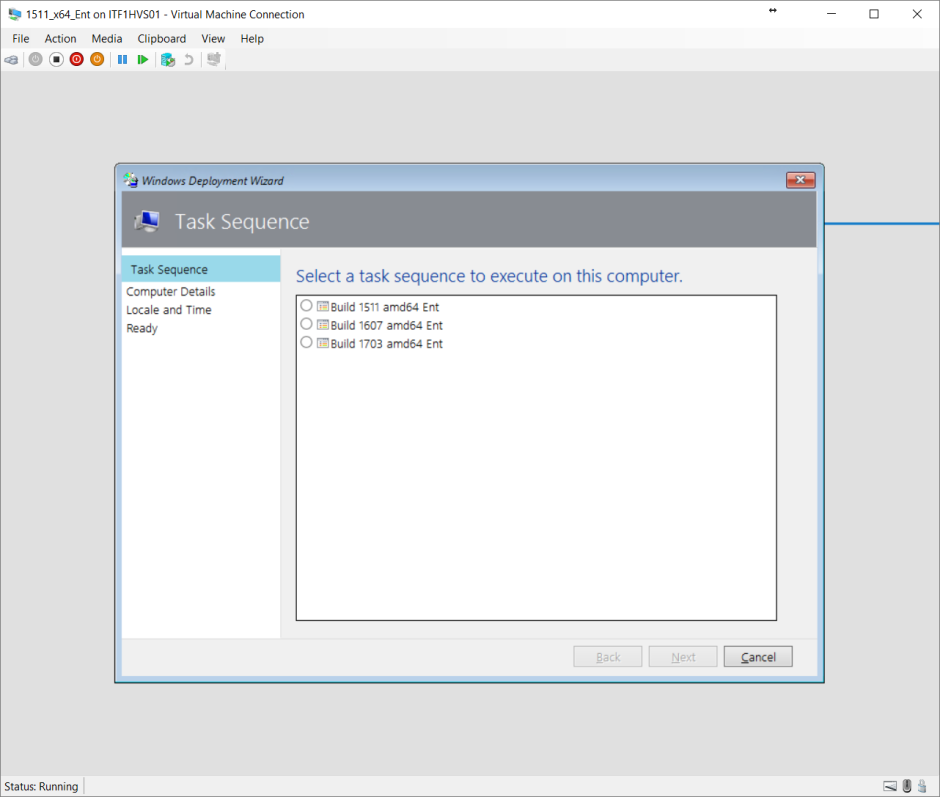
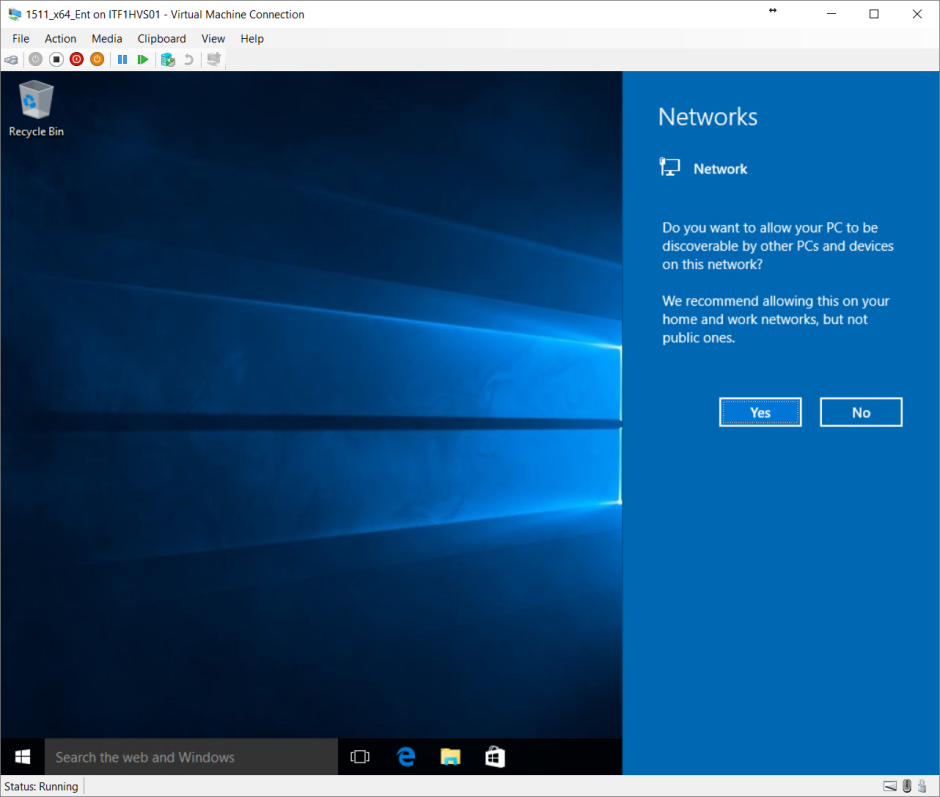
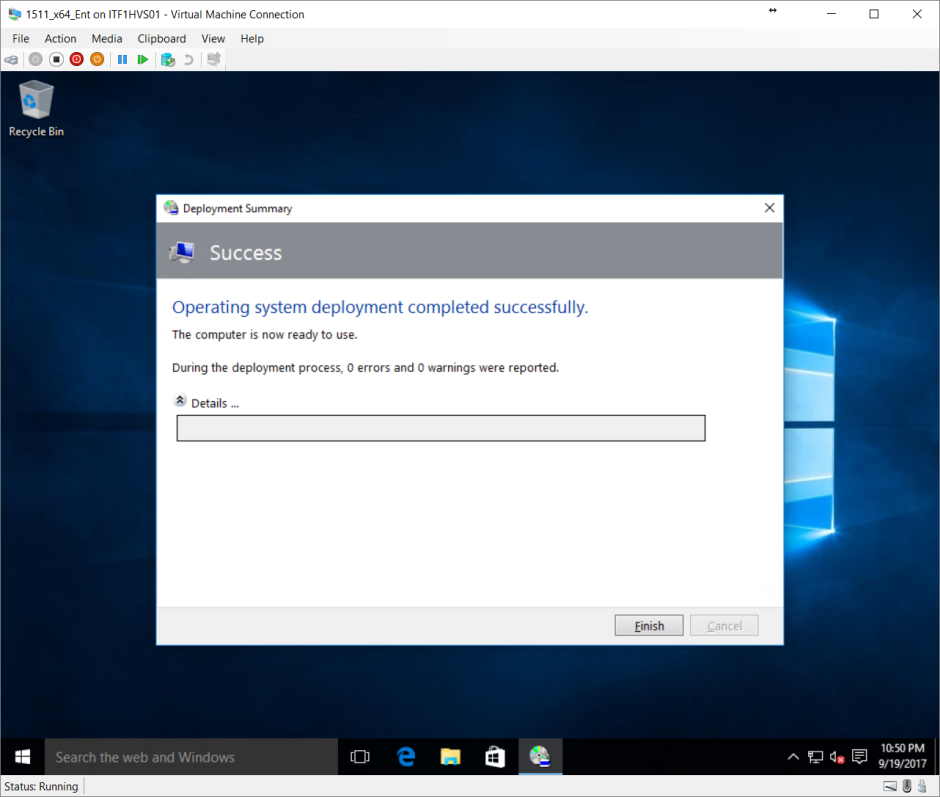
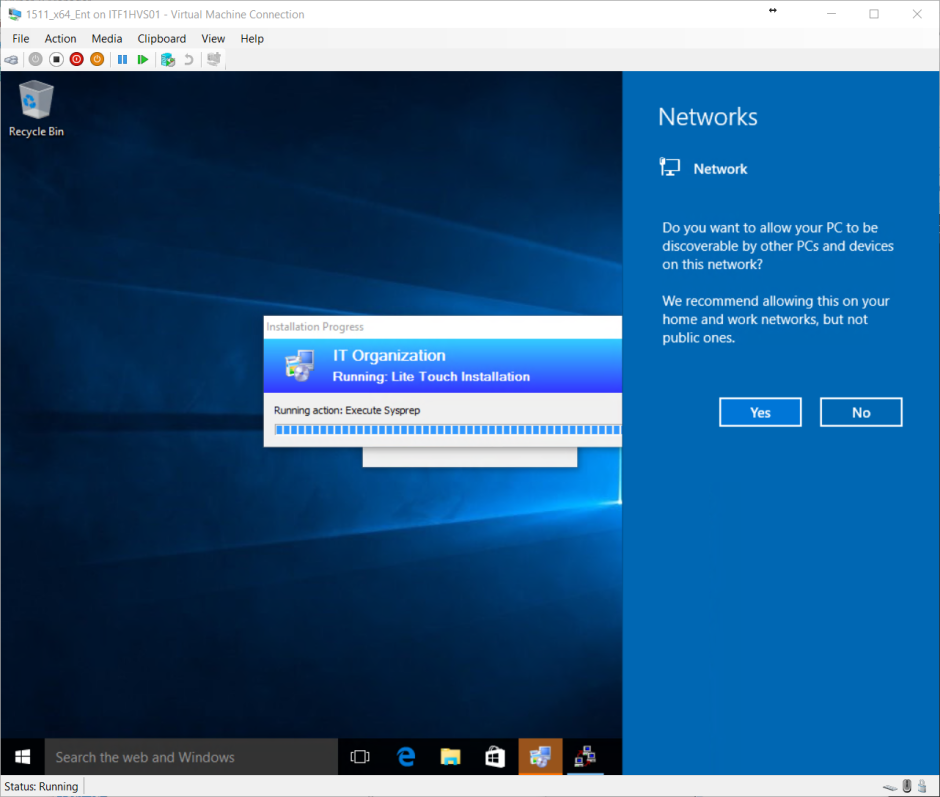
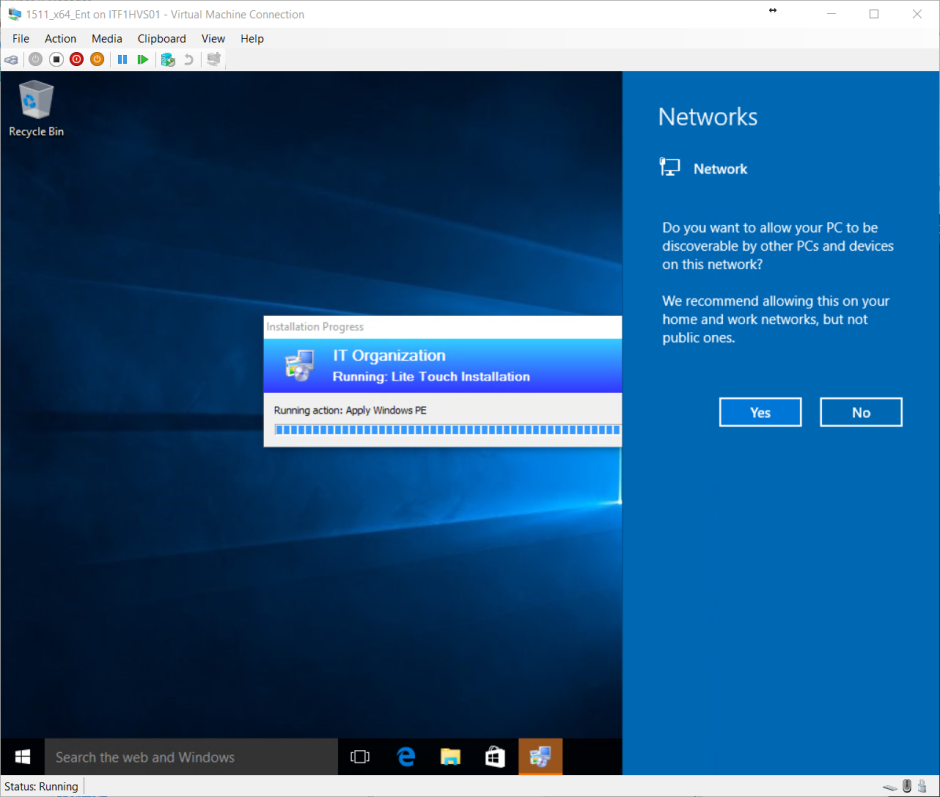
Now when I boot into WinPE and image, I no longer see those respective screens.
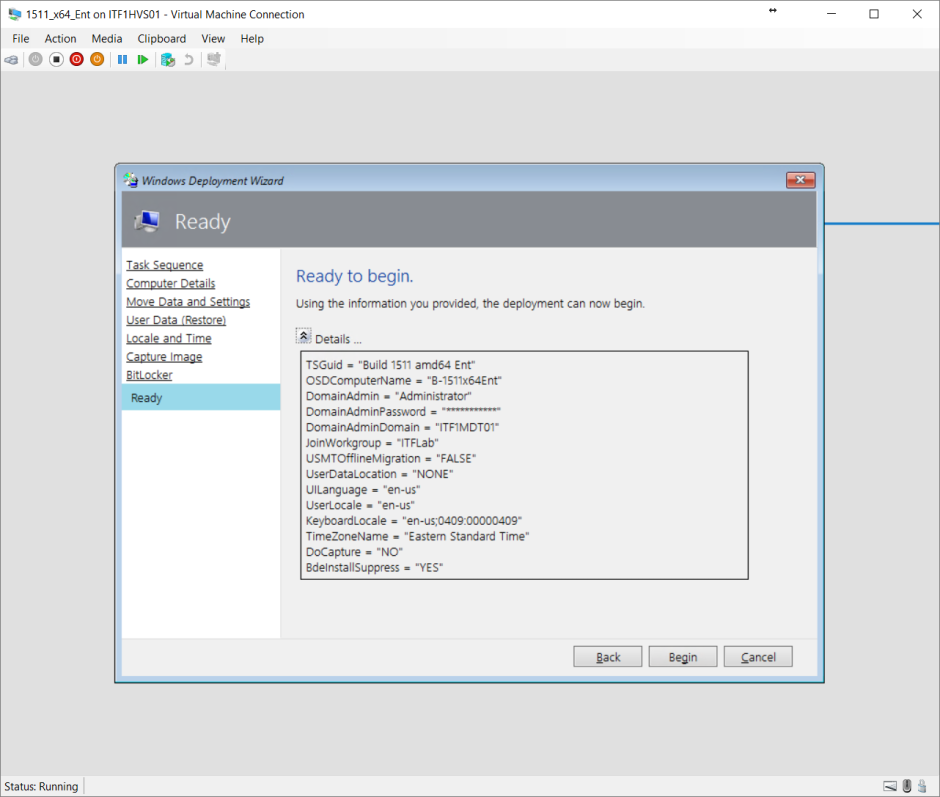
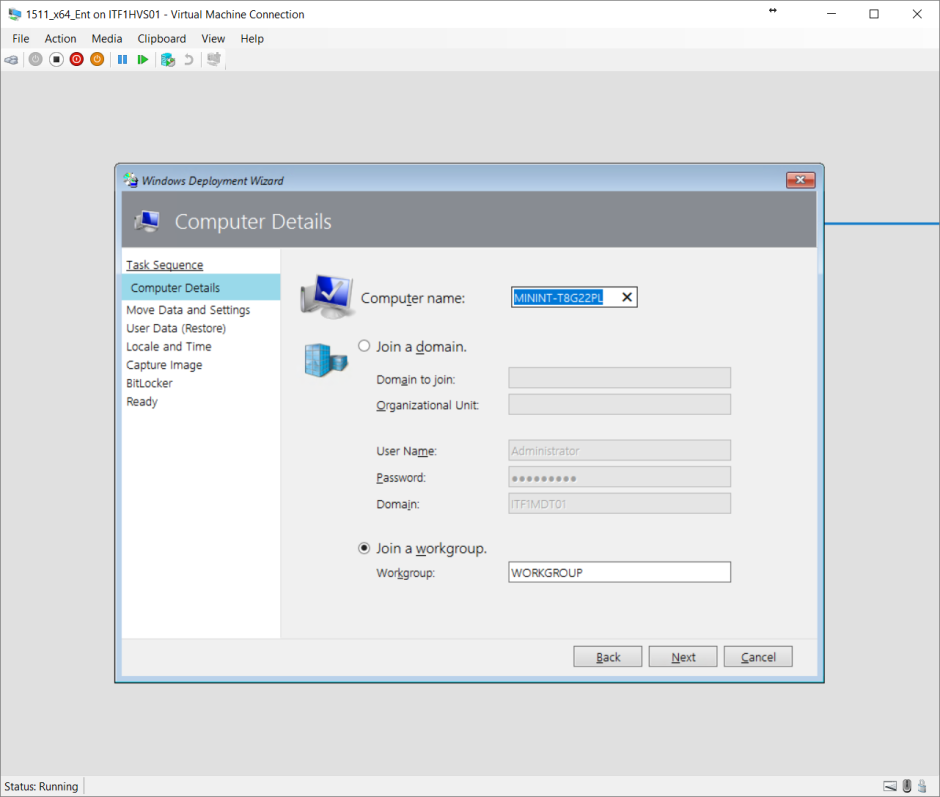
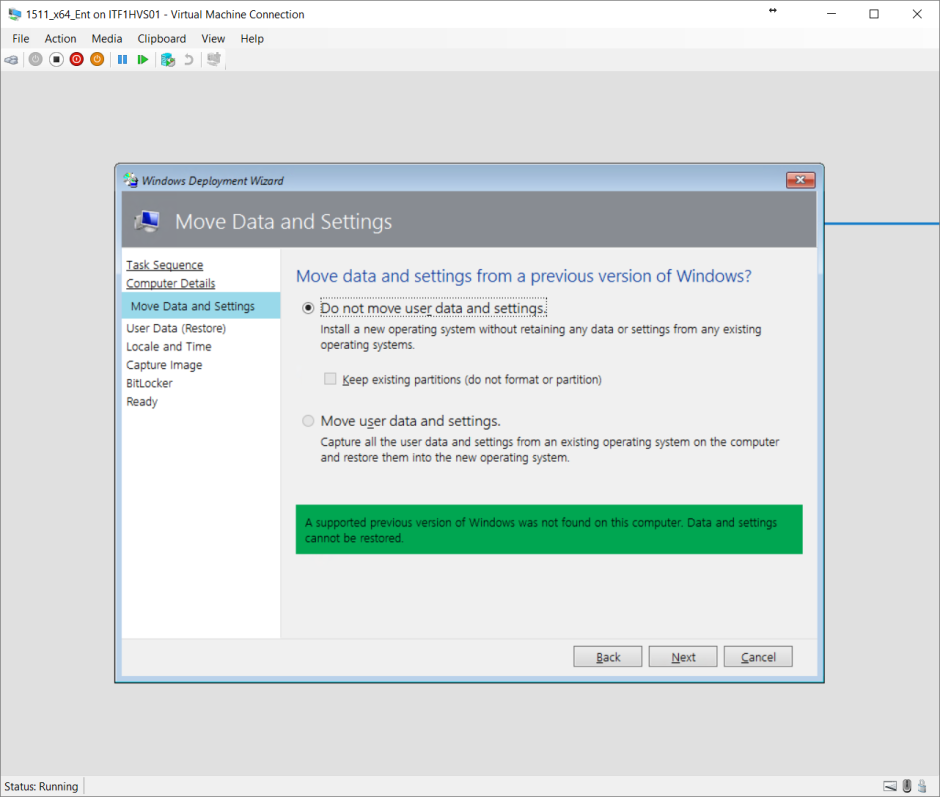
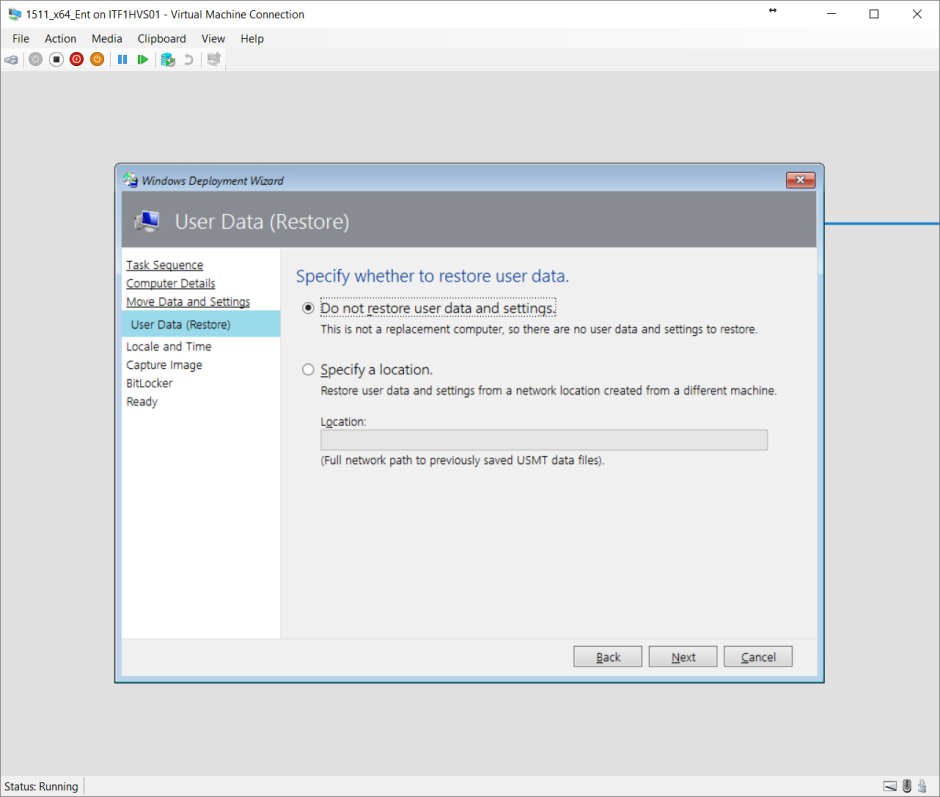
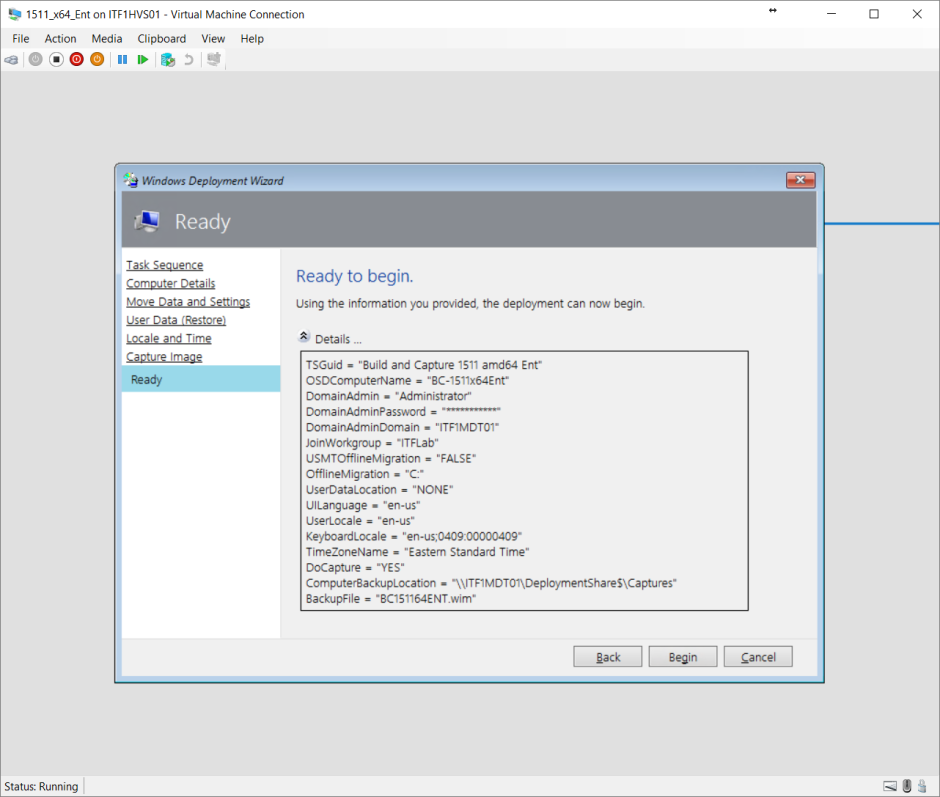
Before, I had both ‘Move Data and Settings’ and ‘USer Data (Restore)’ steps:
After making the change, those screens are gone altogether:
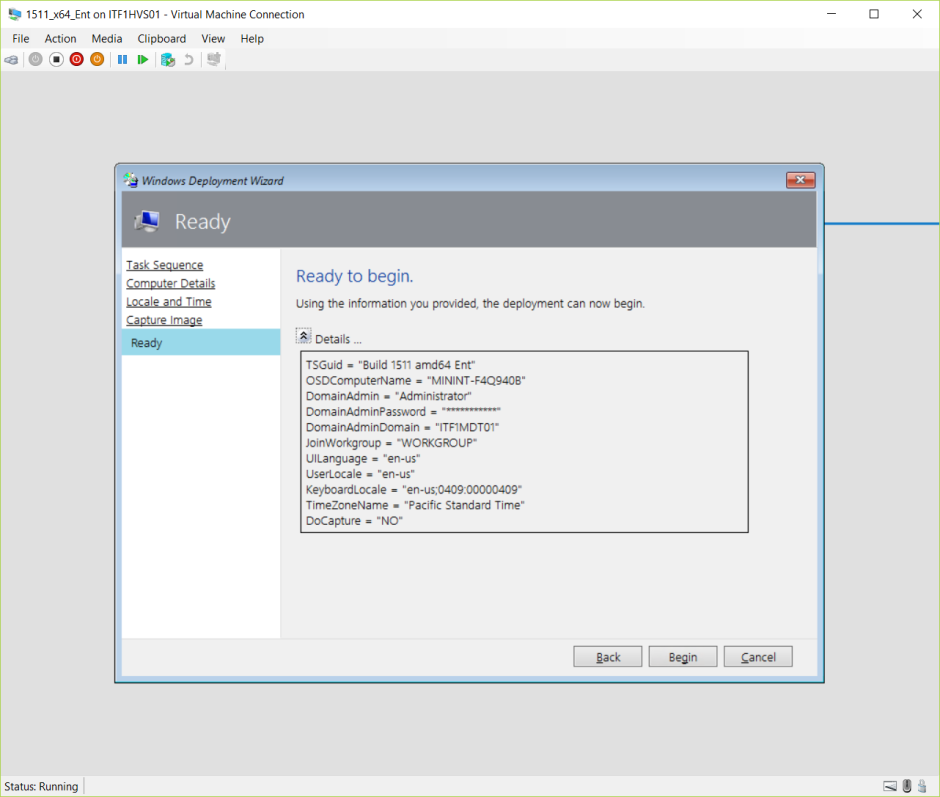
If I wanted to bring back BitLocker screen, I could Set SkipBitLocker to ‘NO’ or commend the line by adding a semicolon in front like ;SkipBitLocker=YES
In case you’re wondering, I didn’t declare SkipUserData because it’s a built-in MDT property that I’m just toggling. Please see the links under recommended reading above for more information on [many] built-in variables.
In Closing
We’re really only scratching the surface here at what we can do with the CustomSettings.ini. You can do so much from here including calling a UserExit script which is a way for the CustomSettings.ini to call an external vbscript that will return a value which will get set as the property (or variable) value.
In the next post we’ll talk about the other .INI file, Bootstrap.ini and we’ll make some other adjustments to both files to make some things a little easier for us.
For now, I bid you Good Providence.
Share this golden nugget:

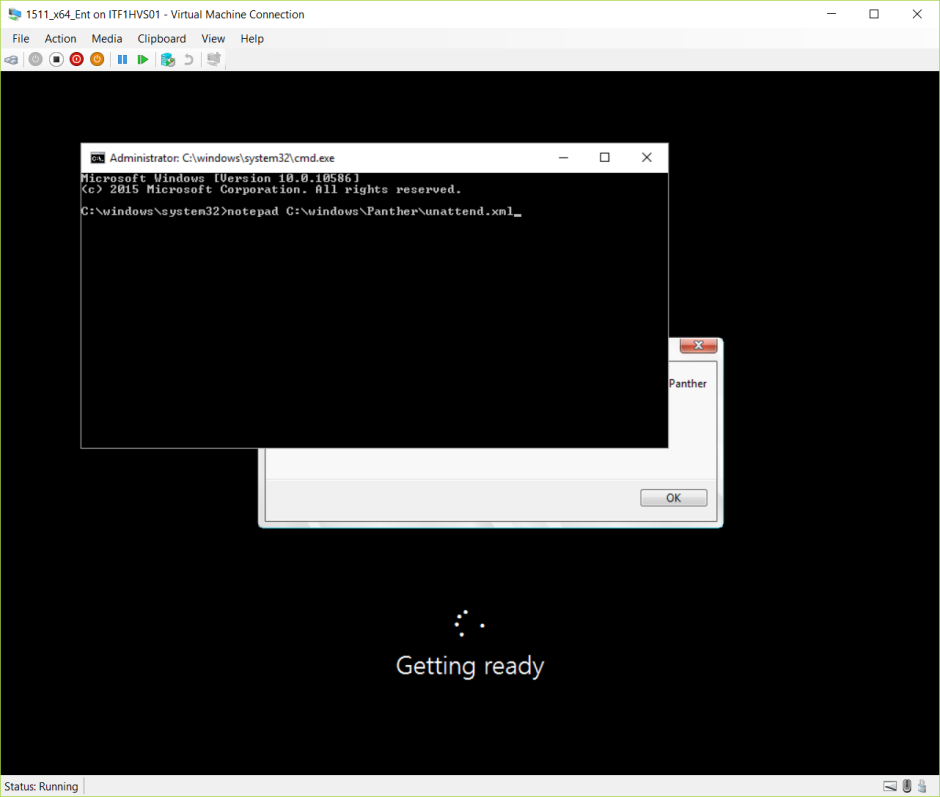
![Title: Windows Setup Body: Windows could not parse or process unattend answer file [C:windowsPantherunattend.xml] for pass [specialize]. The answer file is invalid.](https://itinlegal.files.wordpress.com/2017/10/troubleshoot-003.png?w=620)
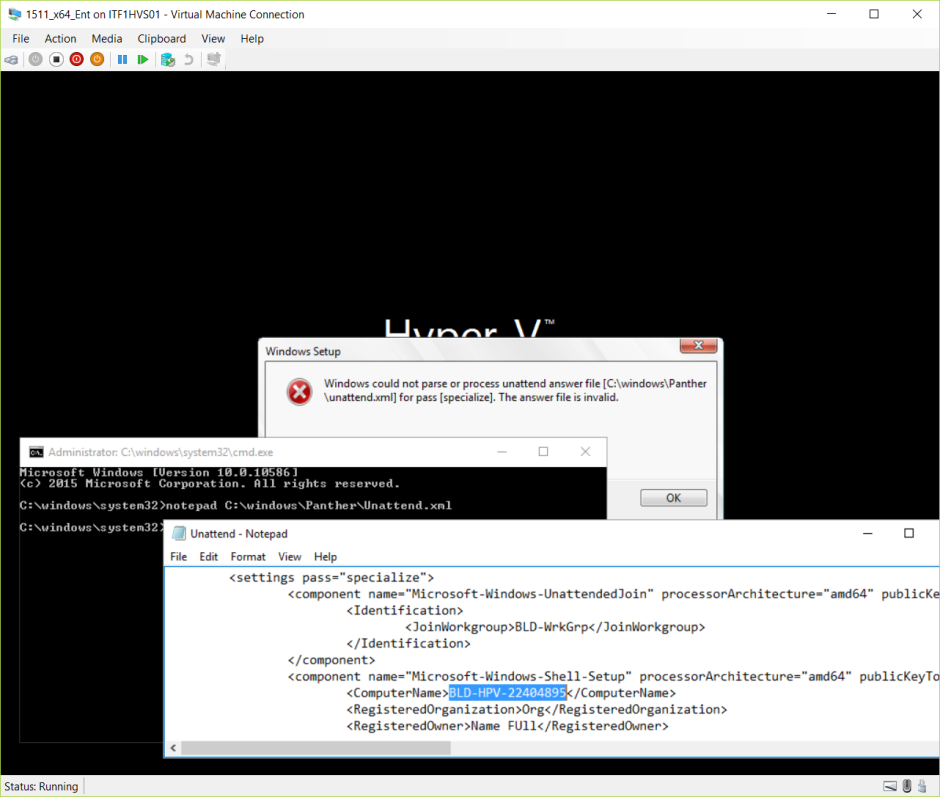
![Title: Windows Setup Body: Windows could not parse or process unattend answer file [C:\windows\Panther\unattend.xml] for pass [specialize]. The answer file is invalid.](https://itinlegal.files.wordpress.com/2017/10/troubleshoot-003.png?w=940)


You must be logged in to post a comment.